Friday, September 30, 2016

Jalapeño Peppers

Jalapeño Peppers  are pretty easy to grow and make a great addiction to any meal. 
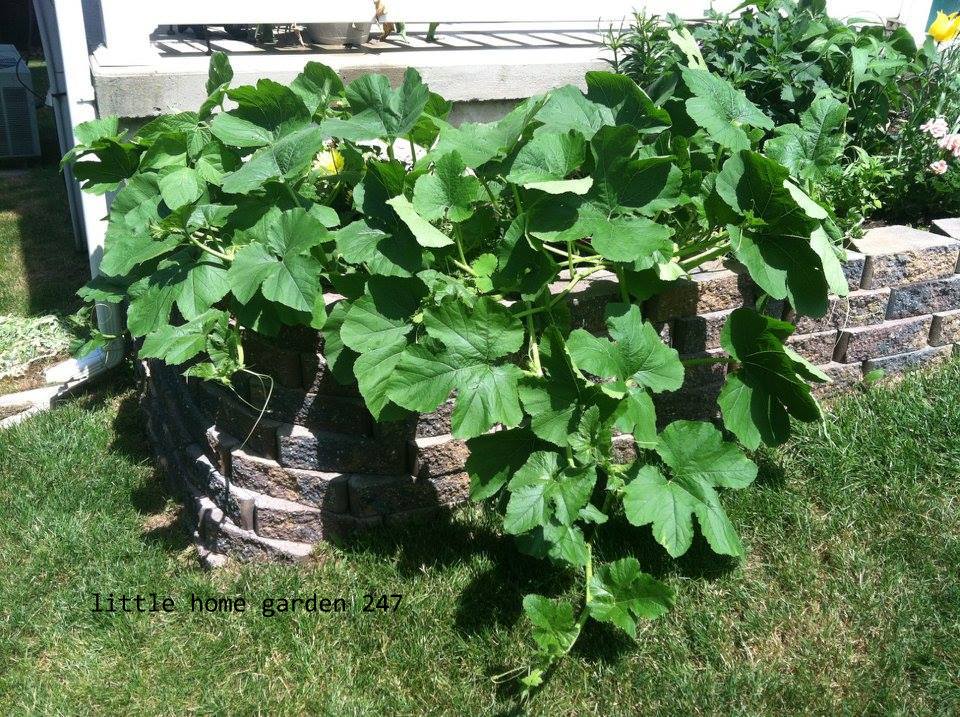
This year we grew ours in a half of barrel, last year it was in a city pickers pot.
(this year is to the left, last year is to the right)
We grew it along with 3 other pepper plants this year witch I know is a big no no for some people, but we had no problem and they all looked beautiful together.  I used the plant stand just so it would not lean over as people who came to my door are not careful and would hit it.  


Things to remember when planting Jalapeño Peppers~
~Keep watered, especially when it is hot out. Do not wet the peppers though and do not over water.
~Keep in well drained soil with full sun
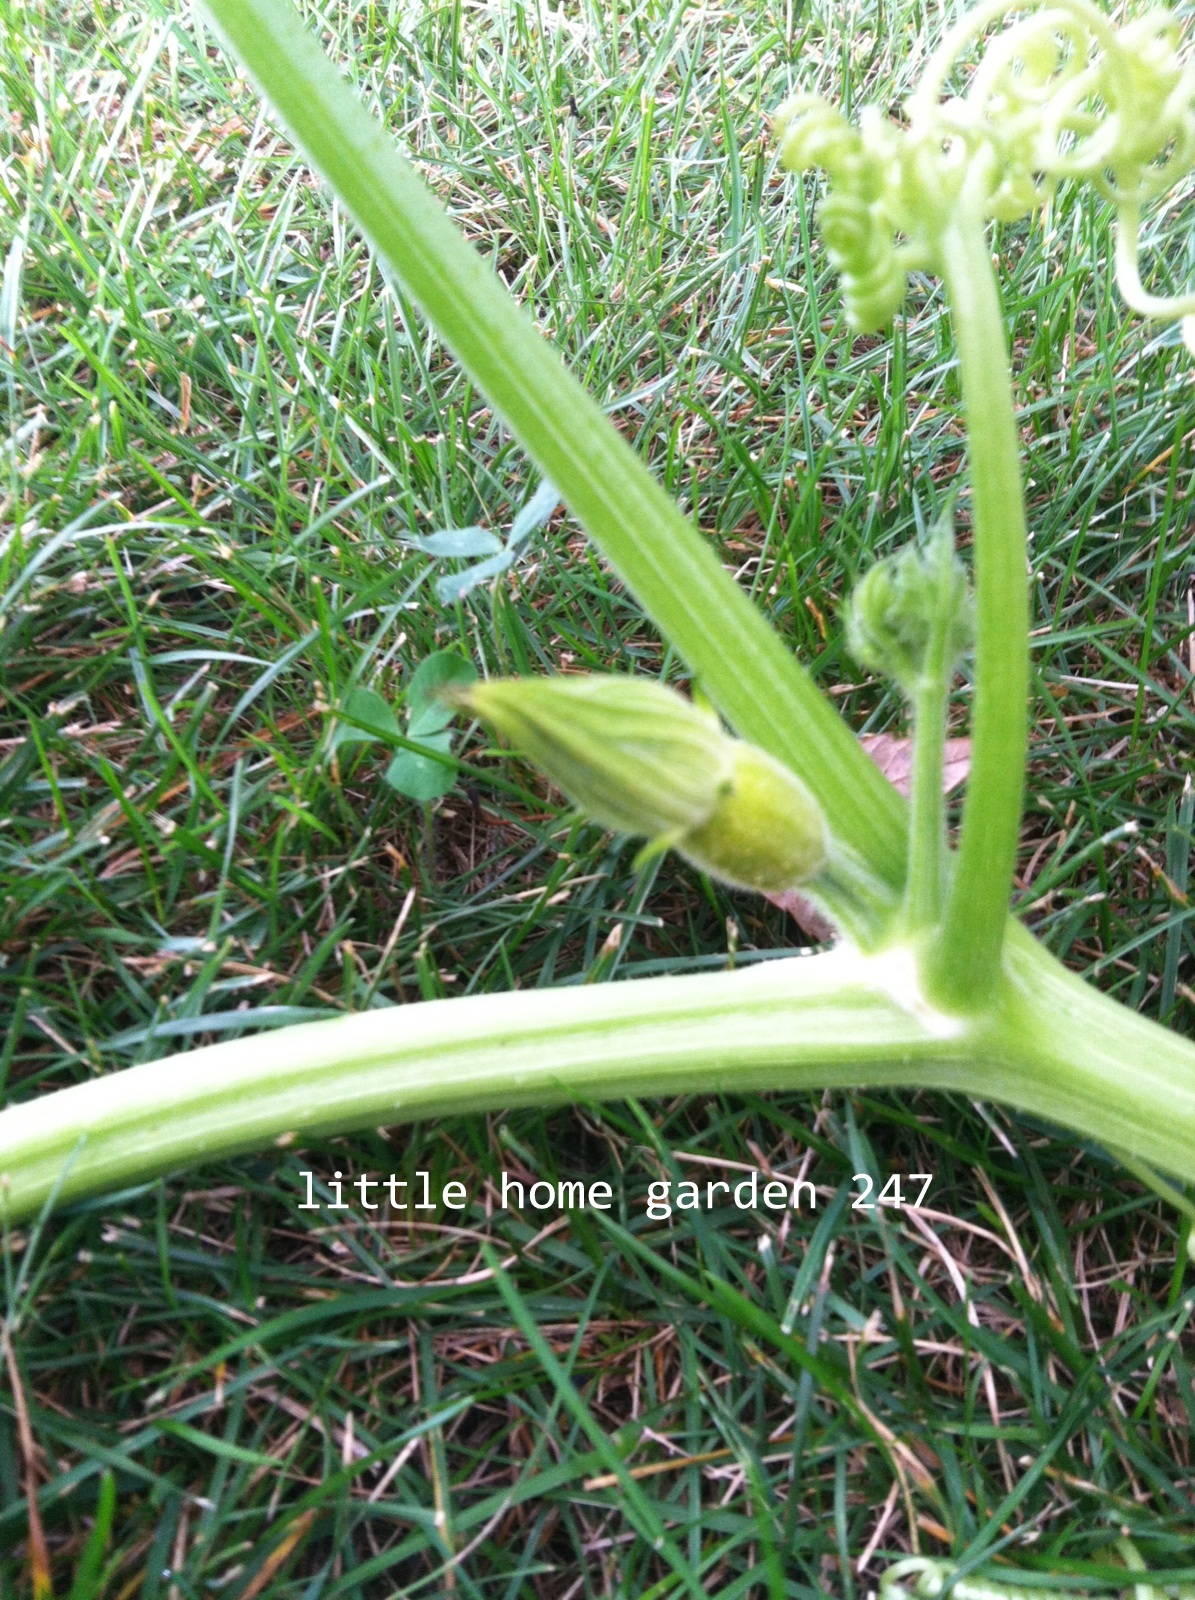
 ~Check daily for pest. Worms and caterpillars are common and can be easily picked off.(We had this problem when they just started growing but not anymore, thankfully)
~You can start seeds inside and transfer them outside when they are around 11 weeks.(Just rememebr to keep them in a sunny spot)
~A full grown plant can grow up to 3 feet
~You should space them at least a foot apart. I noticed sense we did not this year it did not grow as big as it could have, but still gave plenty of peppers!
~Give plant food, and keep weeded.
~Jalapeño Peppers can be grown in planters but might need a bigger one has it grows.
~They are named after a town in Mexico and are the most popular chile pepper in US.


When picking Jalapeño Peppers try to pick before they start changing colors. I like to pick mine and let them sit in a window. This year we got some red ones! You can also freeze them. Every year we always end up with tons. We donate a lot and freeze a lot. The hotness of the peppers vary form plant to plant and threw out the different color stages.
The color of Jalapeño Peppers goes from bright green(this is when you should pick them) to dark green then black and finally red. A Jalapeño Pepper can grow anywhere from 2 inches to 3.5 when full grown. A mistake I always make when cutting these peppers is not wearing gloves! Really you should. Even after washing my hands multiple times I still have the juice form the peppers still on them and I countless numbers of times rub my face after and burn myself. lol


Monday, September 26, 2016

Snap peas

Last year I tried to grow these but got them in too late and they did not make it. Again this year I tried and so far we got some success along with some learning opportunities. While we have some peas growing it seems like something effected few leaves. Snap peas need support to grow, I foudn after they grew a certain height  the support was only need for the bottom of the plant. As you can see from the picture below I have simple support and the plant is now standing the top half on its own. When planting snap peas mulch is a great tool. It helps keep the plant drained of water that can cause the roots to rot and helps keep the plant cool in the hot sun. I am thinking this is where I went wrong. At times when I could not water the plants I had other people do it and at times it was hot and sunny and I am pretty sure it burnt some leaves. 
Other things to keep in mind when growing snap peas~
~Fertilize before planting but not much, a little will do
~They are a low maintenance plant
~Do not over water and do not water in the hot sun
~They get to be about 3 inches long
~They can be planted in containers
~Plant directly, do not transfer
~Snap peas are meant to be eaten all together, (pod and peas)
~They hold lots of iron and vitamin C
~You get more peas if planted in spring but you can plant for a fall harvest
~Can be eaten raw or cooked
~Best to water in early day to prevent fungal disease
~Pea plants do best in temperatures below 70 and can stand a light frost 
~Rotate pea crops every year or two


Good rule of thumb I found with many plants is the more you pick the more the plant will produce.   

When harvesting snap peas the best way to know if they are ready is trial and error. You want the pods to be swollen but if you want to long they can become tough and not good to eat. Pick one a day till you find what size is good for you. You should eat or freeze peas shortly after picking. To freeze just place them in a freezer bag. If you do pick them to late you can shell them and use the peas inside for soups.

Saturday, September 24, 2016

Visitor in our garden...can you guess what?

This is a first for me, I have never seen a leaf bug in person but this morning when going over everything in the garden I seen this not so little one sitting on one of my pepper plants. He was so neat to look at and very well camouflaged. Real name for this one is "Katydid" and they live almost everywhere around the world. It is a kind of grasshopper and can be light or dark green. Living only a year these  grasshoppers can not only jump but fly. The leaf like part of them is in fact their wings. They also have 6 legs and long antennas. There is rare pink/yellow ones out there that come form a rare mutation. They eat grass and leaves so I am not worried about this one roaming my garden, I am actually happy. It was a great learning chance for my kids and when I called them out to show it to them they couldn't even find it. 
People do keep katydids as pets and it is actually easy to breed them also but this one will remain free outside. 

Friday, September 23, 2016

Growing corn on a small scale

Yep this year we even tried corn. We got it planted much later but we still tried. Above is how they looked just recently,  but this joyful experience did come with many learning opportunities. Early on we had pest problems and I ended up just pulling one of the plants. We had  a cutworm make home deep down in one of the stalks. At the time when I pulled the plant it just looked unhealthy, it was not till after I pulled it did I found this worm hiding deep down in the plant. Other pest to keep a eye out for are wireworms, flea beetles, and corn earworms. Hand picking and destroying them is best as soon as you find them. Other then that rodents will also feed on corn. Many years ago we tried and squirrels took all of the stalks down. Traps or fences will help with that problem...or a dog. :)  

Some things I learned about corn while still growing it, feel free to add any of our own knowledge.
~Corn is shallow rooted
~Keep weeded to avoid competition
~Do not grow corn in a long row, instead grow in groups to help with pollination
~Water regularly
~Corn grows fast in hot weather
~Fertilize regularly
~Best planted in spring
~Plant corn in full sun
~ Corn is a member of the grass family
~Sizes normally ranges from 7-10 feet


Good companion plants are~
Potatoes
beans (not pole beans)
cucumbers
pumpkins
peas


Corn plants have both male and female parts one on plant. The male part is the top, it only shows on mature plants and is called the tassel. The pollen grains that come off of this are what contains the male sex cell. As seen above
The female part of the plant is the silk. When a grain falls onto the silk it germinates pretty quickly.
Now this is something  I am still looking into and finding mixed things about. 
 One stalk has red grain and even red silk. (seen above and below) I know  I did not plant them at the best time but I felt like even if we got no corn they would give the house some decor, and my neighbors love seeing corn outside of someones house growing.(I know weird but no one near me really has a garden that they grow food in) I read that this could be something wrong with the soil. I also read that this happens, either way I really got no answers. I would love to know if anyone knows why this happens? Any info betters me for growing them next year.


Wednesday, September 21, 2016

My first year growing Lavender

Something I always wanted to grow and never could find in stores. Well last spring I went on a hunt for just this. One day, many stores.....and the whole time Homedepo(closes plant selling place near me) carried it just not a lot and they sell out quick.... -_-
Anyway I finally got my hands on 3 simple lavender plants. I seen they also had Spanish lavender later on in the end of summer.
Lavender care~
~do not over water, lavender needs well drained soil
~lavender does well in pots and planters 
~if you do plant lavender in the ground place it in a raised bed to improve water drainage
~sprinkling bone meal over the plants and watering lightly  in fall helps the plant during the cold winter months
~flowers can be used in crafts, soap making, sauces, and even desserts
~there is many types of lavender
~lavender is at it's peak when the blooms just start opening, this is when they will smells the best and look the brightest 
~prune the plant, this plant does very well to being shaped
~lavender can last threw winter
~lavender needs sun or can easily grow mold
~lavender is actually a herb
~only fertilize once a year 
~use mulch to help keep weeds away and it will also keep the roots warm for winter


To harvest just cut the stems form the plant making sure not to over cut so the plant still looks full. To dry lavender, hang the stems upside down in a dark well ventilated place. If you want fresh lavender in you'r home just place lavender stems in a jar or vase with no water and enjoy. 


Tuesday, September 20, 2016

Basil

We never grow enough basil here. I really use bail in just about everything I cook. This year I bought a 5 tier planter and placed tow basil plants in that. They are growing and are healthy but it is way to small. I would not suggest planting them in small spaces like above and will for sure not do it next year. This year we did sweet and spicy basil with sweet being our favorite. 

Couple things to keep in mind when growing basil~ 
It is easy to grow from seeds(they are sensitive to cold so maybe start inside first?) 
Need well drained soil
Basil needs about 6 hours of sun daily
Water at the base of the plant when soil is dry to the touch
Basil grows well with tomato plants
Pinch off the flowers to encourage healthy basil leaves (basil flowers are actually edible!)
Remember to use clean soil as this is one plant you will be eating
Basil is better fresh though you can use a dehydrator and store them away for future cooking
There is many kinds of basil (spicy, sweet, cinnamon,  purple, and even Thai)

Aphids are one pest that basil can easily get. Check the underside of leaves often for aphids. They have a pear shaped body and come in many colors from yellow to black. Cold water spray can sometimes get rid of these or even doing some research into what good bugs many be to buy for eating these pest but not the plants.
You can harvest the bail seeds(the seed are found in the flowers once dry but are very small), I did not this year and found basil plants growing in my garden as seen above. Guess the wind carried them from the planter over to the bed. 


Monday, September 19, 2016

Pumpkin Porridge with Rice Dumplings

This is one of my fall favorites. Great for cold mornings or evenings. This year we grew a 18 pound pumpkin and decided to make a big batch of pumpkin porridge and a small batch of just pumpkin puree. Pumpkin porridge is very easy to make. The thing that will take you the longest is cutting up the pumpkin, after that it goes by pretty quick. 
Start by cutting up the pumpkin you choose and taking out the seeds. Cut it into cubes about inch or two in size. (side note~no, you do not include the skin of the pumpkin or guts) 
Next place a steamer basket in a pot with a inch or two of water and bring to a boil. Carefully add in the pumpkin. Do not over fill the pot with pumpkin, do more then one batch if needed. For our 18 pound pumpkin I did 4 batches, it filled one crock pot and one bowl when done. Lower the heat to medium and let it cook for 20 mins. When done it should be easy to poke threw with a fork. 
Once done place the pumpkin in a blender and add in 1/4 cup of sweet rice flour, 1/4 cup of brown sugar, 2 cups of water and a pinch of salt and blend until smooth. This is were I took a short cut. There is many recipes online for making homemade rice dumplings but it was a busy day and I bought them from the store. I placed it all in a crock pot and put it on low for few hours to keep everything warm till dinner. You can freeze leftovers and just place back in a crock pot to be warmed again.  
Enjoy :) 
any questions feel free to ask.

Sunday, September 18, 2016

Growing Mum's


Growing mums can be very rewarding. They come in many different colors and sizes. Above is what is currently growing in our garden bed.You can grow mums in flower pots or right in the ground. We did try pots but they did not get as big as they could have. Next year we will try a bigger pot. 
Some things to keep in mind when planting mums~
~Make sure you have a sunny spot and water as needed. 
~Fertilize, I like to use miracle grow plant food. I actually use a mix between organic soil and miracle grow soil too.
~Plant in the spring so roots can grow long enough to withstand winter. If cared for they can grow back next year with a little bit if a trim next spring.
~ Make sure the soil is loose when planting mums so roots can grow healthy. 
~Mums are also called Chrysanthemums.
~If you buy mums that are all ready bloom they have a low chance of surviving winter and coming back next year. Try to go with ones that have not bloomed yet.
~They can be planted close together to make beautiful patterns.(just make sure to feed and water regularly so they do not compete)
~Garden mums grow bigger every year while florist mums (made for cutting) will stay about the same size they are when you buy them. 


Updated picture of the caterpillars~


Friday, September 16, 2016

Growing Marigolds


Marigolds are one of the top flowers I love growing for many reasons. We always start them in the ground cause they grow so quick. They can be planted in pots but I always find that they never grow as big as they could and die a lot quicker. The ones above are newer then the ones below. 


^These marigolds have been growing for months now and have even survived being planted with winter squash that took over the soil. We grow marigolds because they are so easy to take care of. Sun and water is about all they need. You can forget the fertilizer with these cause they will even grow in poor soil. We have had no pest issues this year but do not over water. Soggy soil will cause fungal infection. 


Some things to keep in mind when growing marigolds~
~Marigolds make great cut flowers for arrangements. Cut off any lower leaves and place in warm water. Add floral preservative to make them last even longer. 
~They make great snacks for some animals and even people. We own hermit crabs and they love them.  
~To dry out the flowers for crafts cut off any leaves and hang upside down till dry.
~Keep the weeds away! This is something I have to look at daily cause the weeds like to hide under the plants and are hidden till they are way big. 
~Snip off dead flowers. This stimulates new blooming. 
~Rule of thumb if it rains that day skip watering. Let the soil dry between watering.


You can save the seeds from this flower. To do so let the bloom die and dry out, then just pick it off. All the seeds will be in the head of the plant. I place mine in a glass jar for use next year. Remember only to take from healthy plants. 

\
Side note~ The caterpillars are doing good. We lost one but 5 still remain. They are way bigger now and are looking more green then before. They are for sure eating a lot of the carrot tops but I think it is getting to cold now and will hibernated till next spring before changing. 

Wednesday, September 14, 2016

Bush beans


 Bush beans not mistaking to be pole beans are one thing I love to grow. Unlike pole beans, bush beans do not need something to grow on to help it stay upright. To grow bush beans it is best to start them outside rather then transferring them later on. I like growing  them in groups but give each plant around 6-8 inches of space all around. Above is the first time this season that they grew. They are in the back and surrounded by many wild flowers. I found they are really low maintenance and easy to keep up on. These beans grow from white flowers on the plant and grow rather quickly. So if you have more then one plant expect to freeze some. We had 4 plants and with 4 people in the house we ended up freezing a lot for use later on.
Tips on growing and picking bush beans~
~Pick at any time. Personally I find the smaller less curved ones better, but some like the big ones.
~Pick often! Once bush beans start growing they produce quickly and the more you pick the more that will grow.
~Blanch and freeze extras.
~If you want to pick fresh beans all season long, plant new seeds about month apart.(I planted some seeds in Aug. and now have fresh beans growing still in Sep.)

~I have grown bush beans in both right in the ground and also in planters. Both worked but I found I got a lot more from the plants right in the ground then the planter.
^Still growing 

You can also save your own seeds from beans to plant the following year. Make sure before saving any seeds you only take from the plant that looks the best. Once you picked a plant let a few of the pods over mature. They will start to turn white and have a rough feeling. If you are unsure if it is time or not yet just wait. Even if the pod turns brown the seeds can be used. Once you get a good pod take out all of the beans and let them dry. I just put miens on a paper towel and left them on the counter top for few days. Once they are dry place in a air tight glass jar and plant next year. Very rewarding! 
Seeds saved from this harvest and beans ready to be cooked. :)


Tuesday, September 13, 2016

Growing Winter squash (spaghetti squash) in our little garden successfully

This year was my first year growing winter squash and it was so fun to watch grow and we ended up with 15 squash before I pulled the plant. At average weighing 3 pounds (some weighed up to 6!) Now at my local grocery  store they sell for $1.45 a pound so we ended up with around $65 worth of winter squash. We donated some, froze some and of course ate most. :)
I pulled the plant to get some things in for fall BUT still have one that is now growing back again. I am not sure it will last or grow amazing food again with the cool weather but as seen below it has squash starting again. It is just one vine and is really spaghetti squash but it IS growing.


 This is what it looked like the first time it grew.

By the time I pulled the plants they were half way across my lawn. 


Growing Spaghetti squash tips~
~Plant in full sun and always keep soil wet..we water daily unless it rains
~Do not cut the squash off to soon! It will not continue to grow once cut.
~A easy way to see if a squash is done growing is to see if your fingernail can penetrate the side. If it can let it grow more, you can the outside to be hard. They turn a cream colored when ready. I had a green one this year that after I cut turned cream also. 
~The flowers are edible! Fry lightly in butter :)
~ Their is both male and female flowers so make sure you have good bugs to help pollinate.  
This is the female flower that has not open yet.
Below is the male. Male flowers are on a long stem. 


~Once cut off of the vine the squash can last for awhile in a cool dry place, just make sure they do not touch.
~If you want to cook Spaghetti squash this is how I normally do it. Poke holes and place in  a oven at 350 for a hour. Once done let it cool enough to work with it and cut it open length wise. Remove the seeds and use a fork to remove the squash. It should come out like spaghetti. I serve it with butter or pasta sauce. Also goes great with sausage. 
~You can roast the seeds just like pumpkin seeds.
~Cut the squash off the vine about inch or so above the squash. Do not pull off!
~Remember these are runners. I planted some near my mailbox really not knowing how long they would get, well this is how it ended up looking~Neighbors did not mind but the plant really had no where to go lol
~Keep eyes open for pest like the cucumber beetle. We had no issues this time around thankfully.
~As cold weather sets in cut off any new squash growing. They will not have time to grow fully and the plant is better off growing what has all ready started then to try with new ones that will not make it. 
Here is some of our harvest from this summer

Remember to have fun. Squash is actually easy to grow!


Monday, September 12, 2016

black swallowtail caterpillars on my carrots?! 0.0

Yep! Many, many little caterpillars have made the tops of my carrots home recently.
 Named black swallowtail these caterpillars love the tops of plants such as carrots, dill and even fennel. With the bright wild flowers I had growing near by the butterflies decided to make the carrots home and laid eggs (that I didn't notice) on the underside of the plant. At first seeing all these caterpillars can be over welcoming and worry some but no need to fear! As long as you do not mind them once they grow into butterflies they are beneficial to a garden. These butterflies see colors (like red) that bees do not see witch attaches them to more plants making them great at pollinating.
 I find growing extra is always best. That way you have some to use and some just for them to eat. It is a great learning experience for kids and adults alike. The eggs of these butterflies are white, once hatched they are black and take on a spiky look. After awhile they turn a mix of black, yellow, and green and take on more of  a round look before making a chrysalis. Now if it gets to cold out for them to fully make it to a butterfly they will enter a diapause stage and wait till next spring to emerge. 
These caterpillars can be brought indoors for kids to watch change, just make sure to included food for them to eat.  We will see what happens with these little guys as time goes on. Hopefully they will grow and not become a birds snack. :)